How to use Consent Pro with Webflow Localization

If you are using Webflow Localization to translate your website into different languages, follow the instructions below to ensure that the Consent Pro banner functions properly and is always updated to the current language selected by the user.

Follow this step-by-step guide to use Webflow Localization:

1

Make sure the 'Use Global Banner' option is unchecked in Finsweet Components.

In the app's Configure tab, ensure that 'Use Global Banner' is unchecked when creating or editing the component.

To use Webflow Localization, we need to manually add the Consent Pro banner to each page to allow it to be translated individually. This is why we cannot use the Global Banner, as it would render the same banner on every page.

2

Convert the Consent Pro component into a Webflow Component.
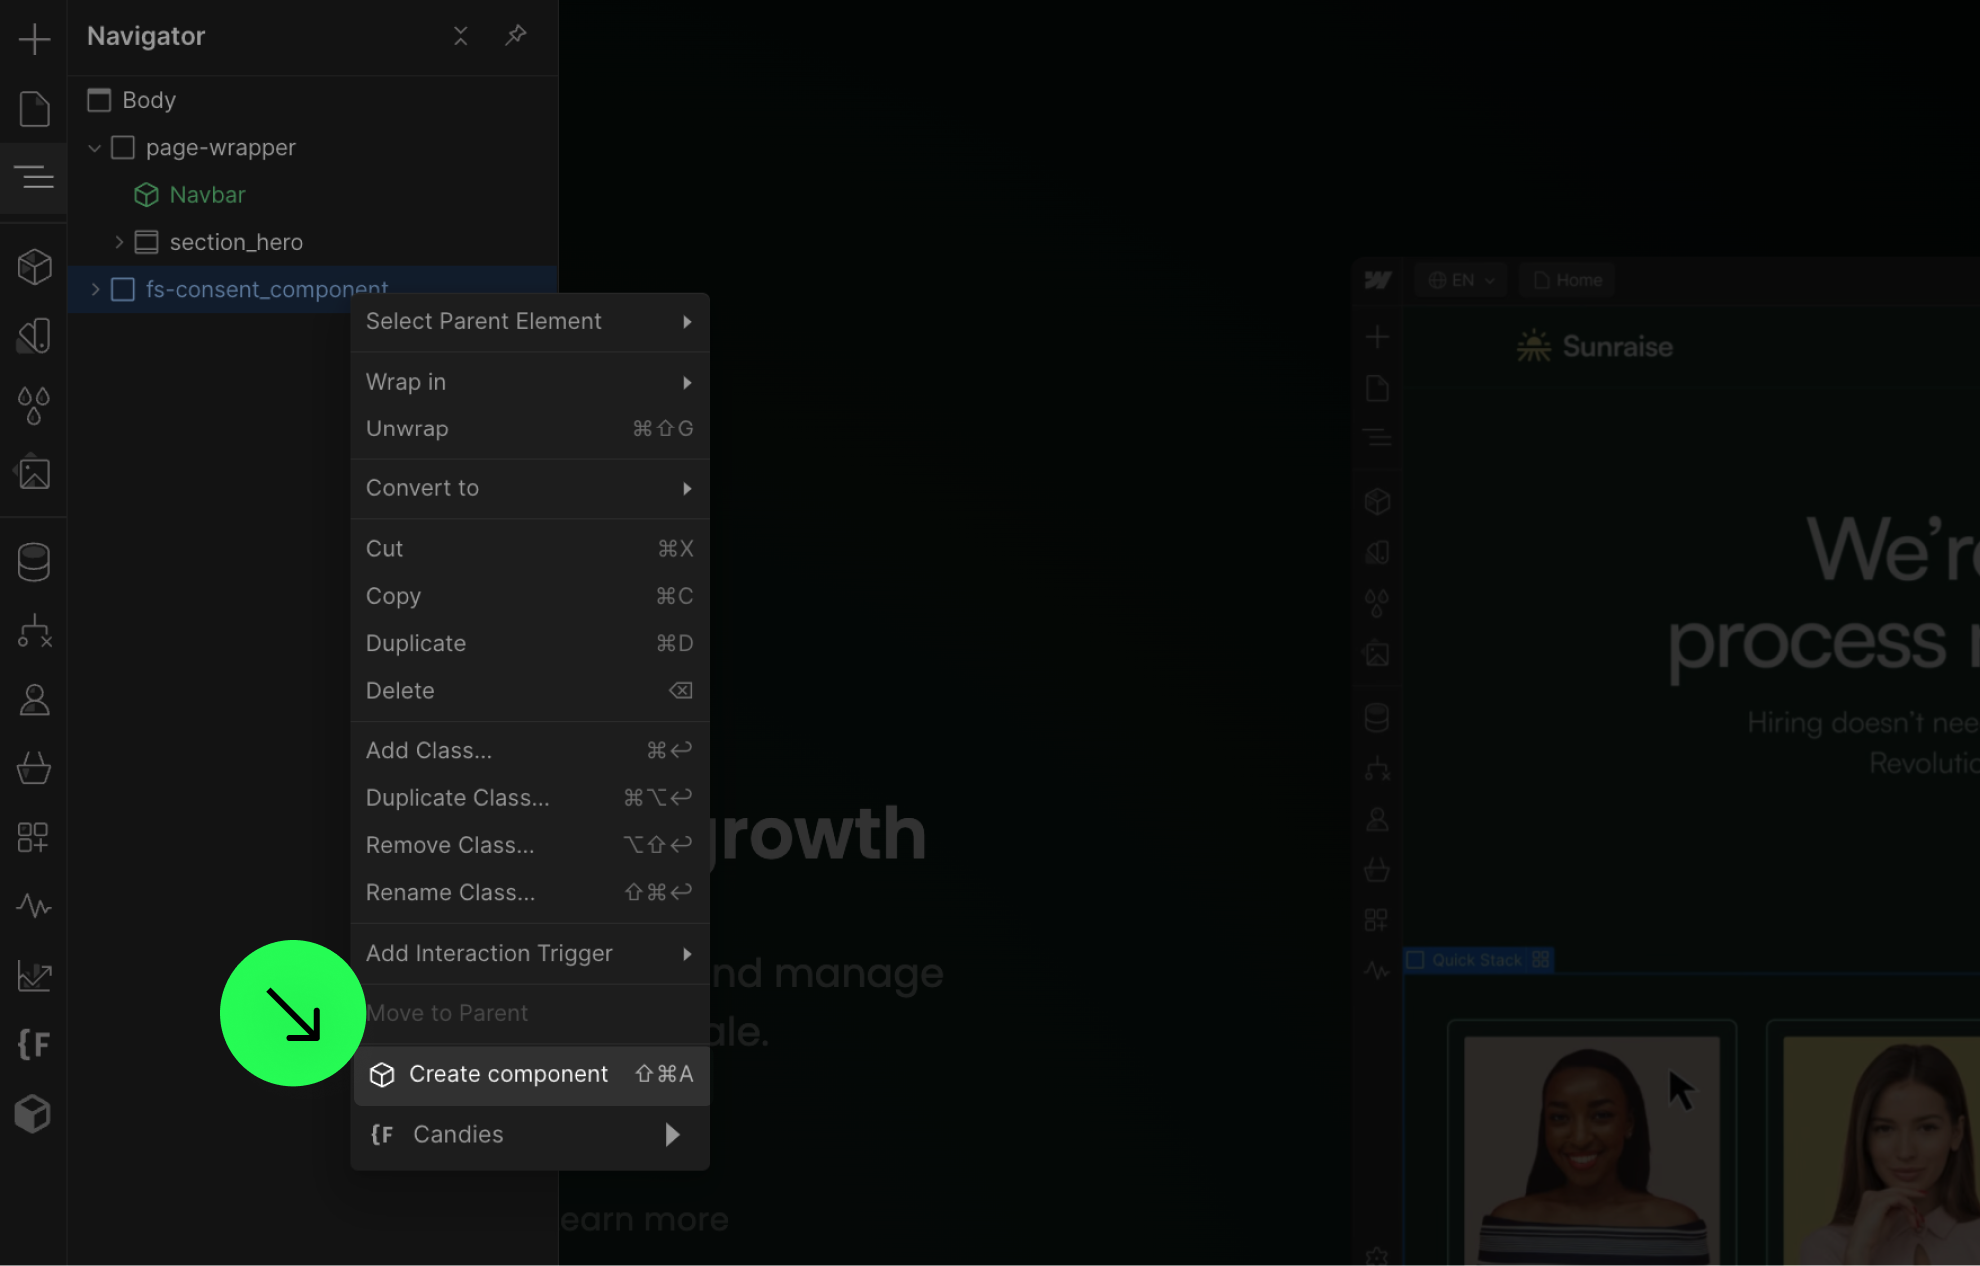
Find the fs-consent_component wrapper in the Navigator, right-click on it, and create a component.

Be sure to convert the fs-consent_component wrapper into a component, not just the Consent Pro banner.

3

Add the Consent Pro Component manually to every page.
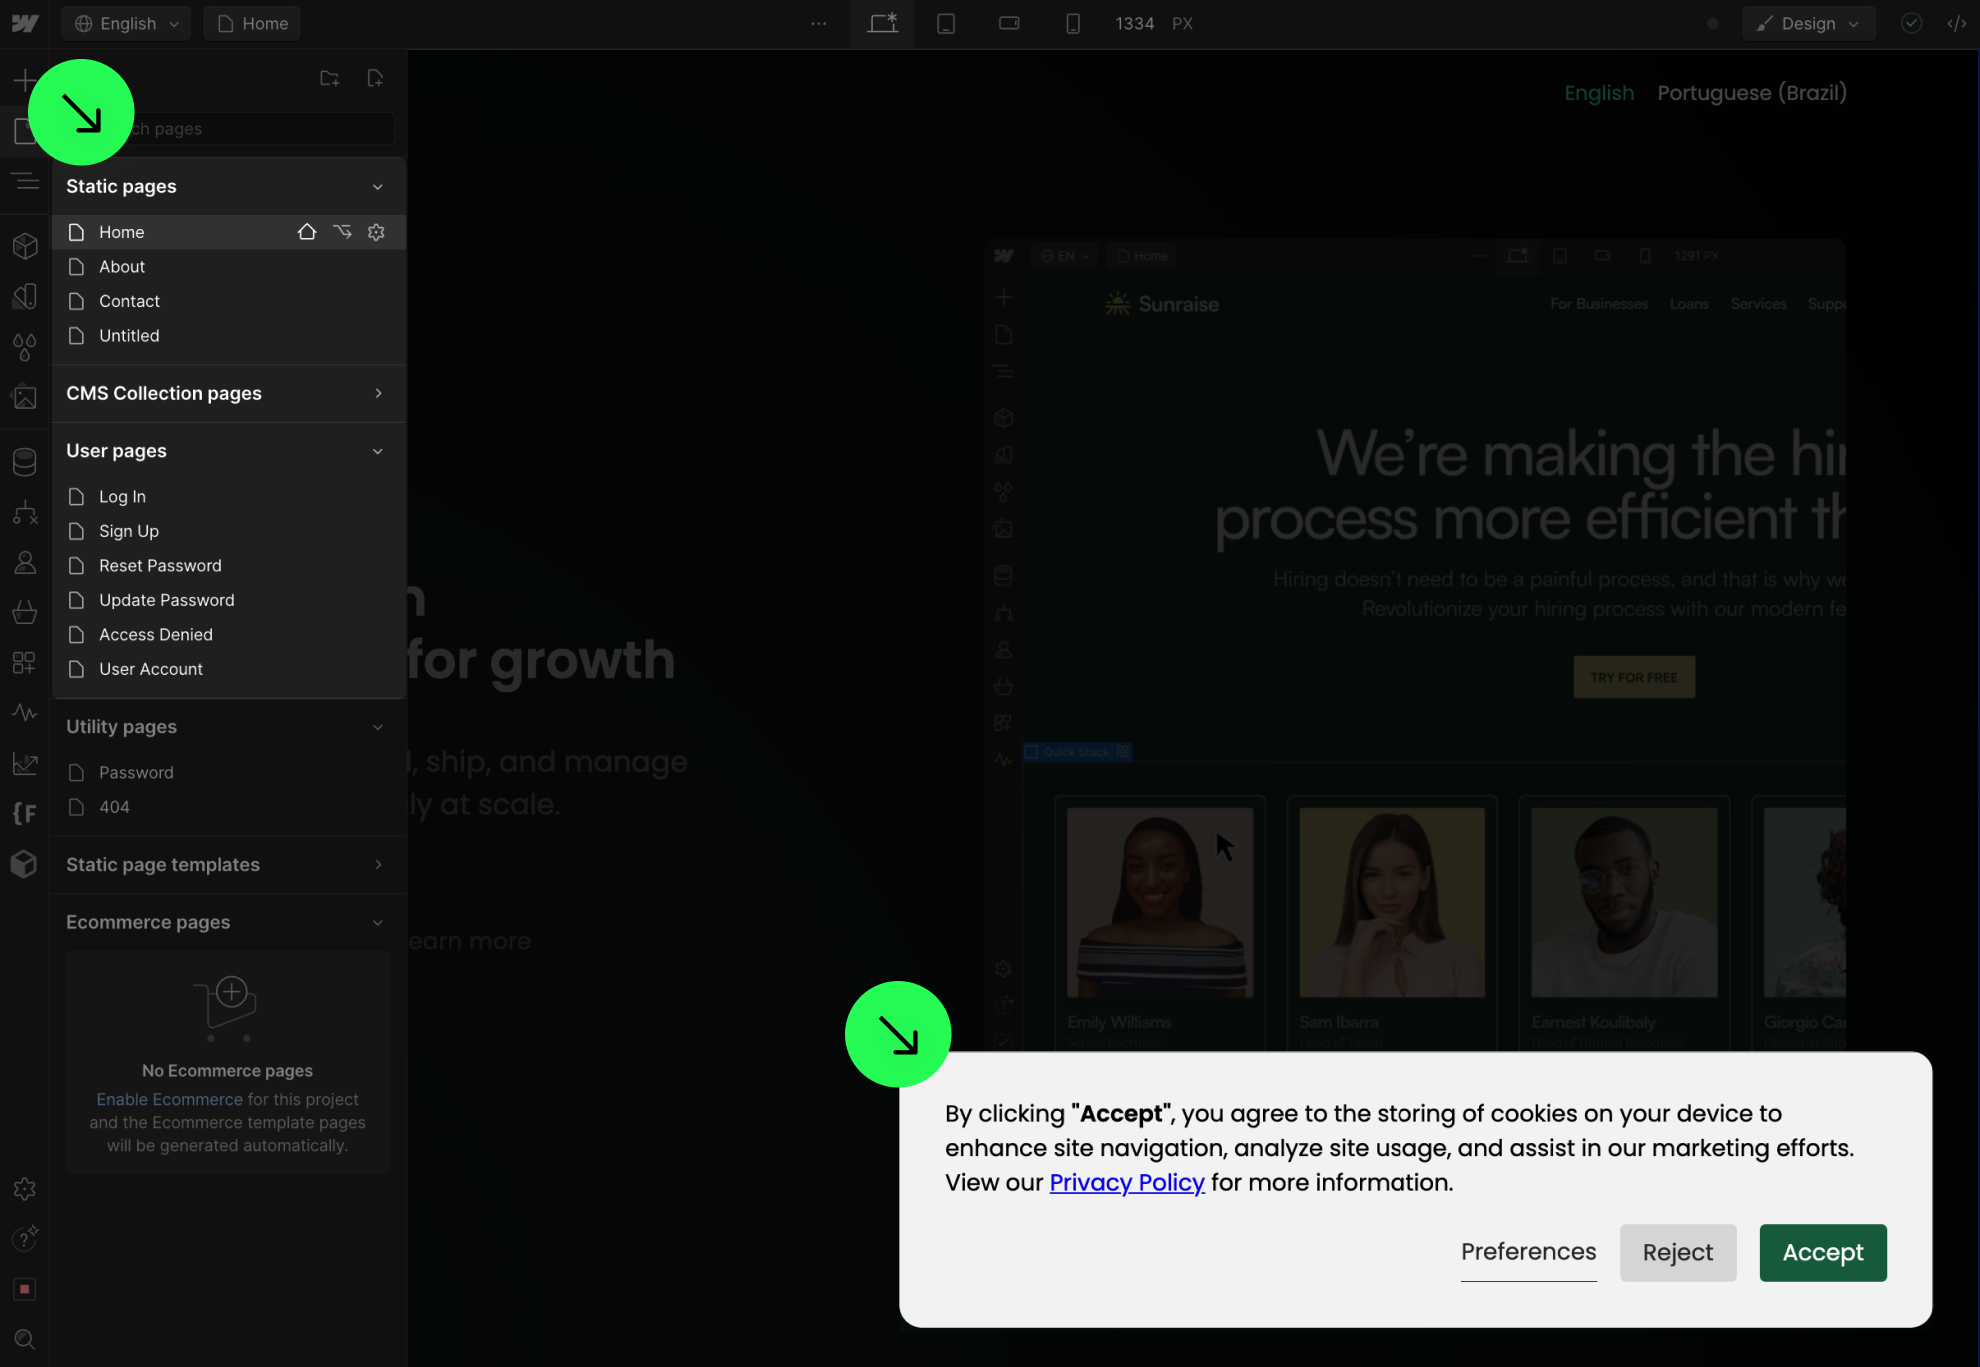
After converting the Cookie Consent into a Webflow component, add it to every page of your project.

Tip: You can add the Consent Pro component to a Footer or Navbar component that is already used on all pages.

4

Translate the Consent Pro Component.
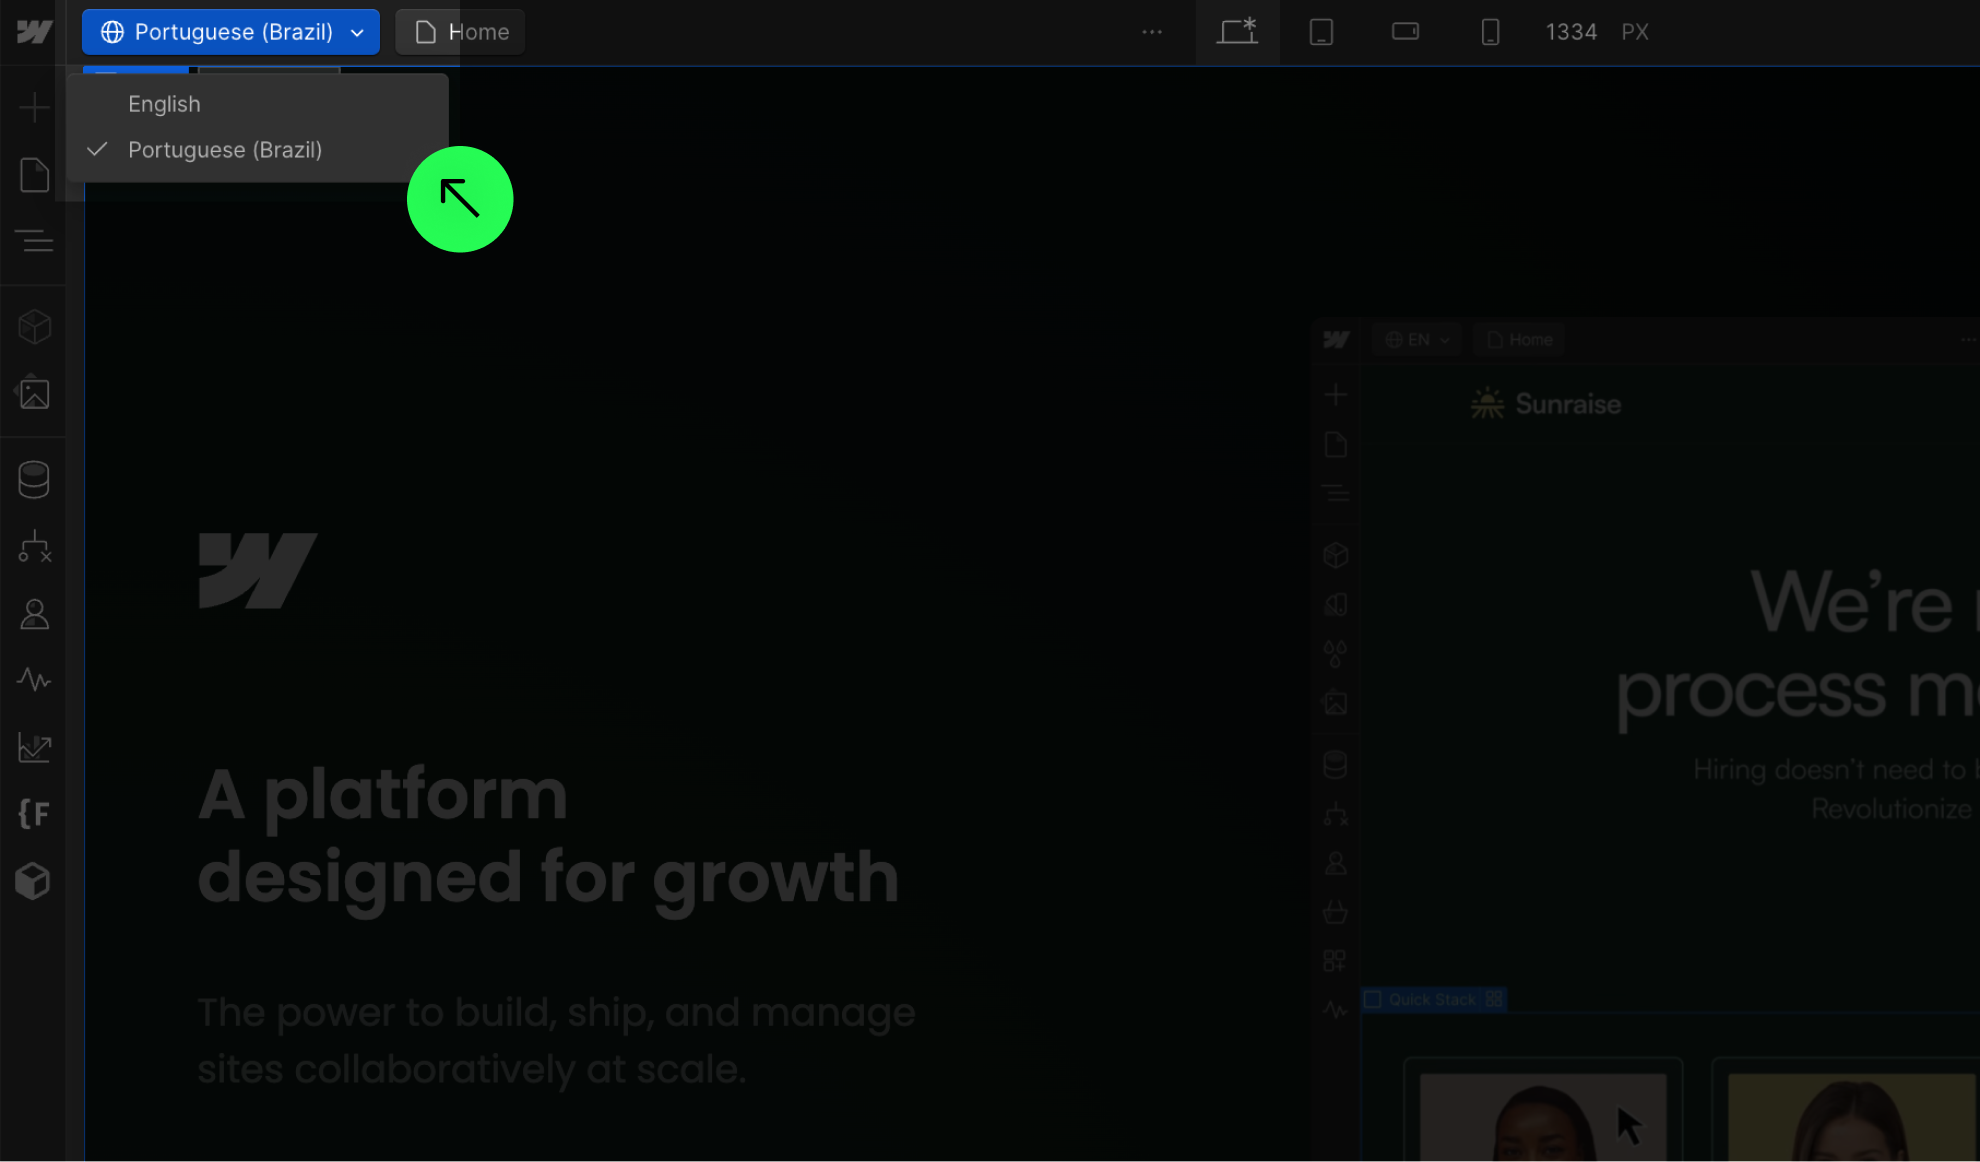
In the Webflow Localization dropdown, select any other language you want to translate the Consent Pro banner to.

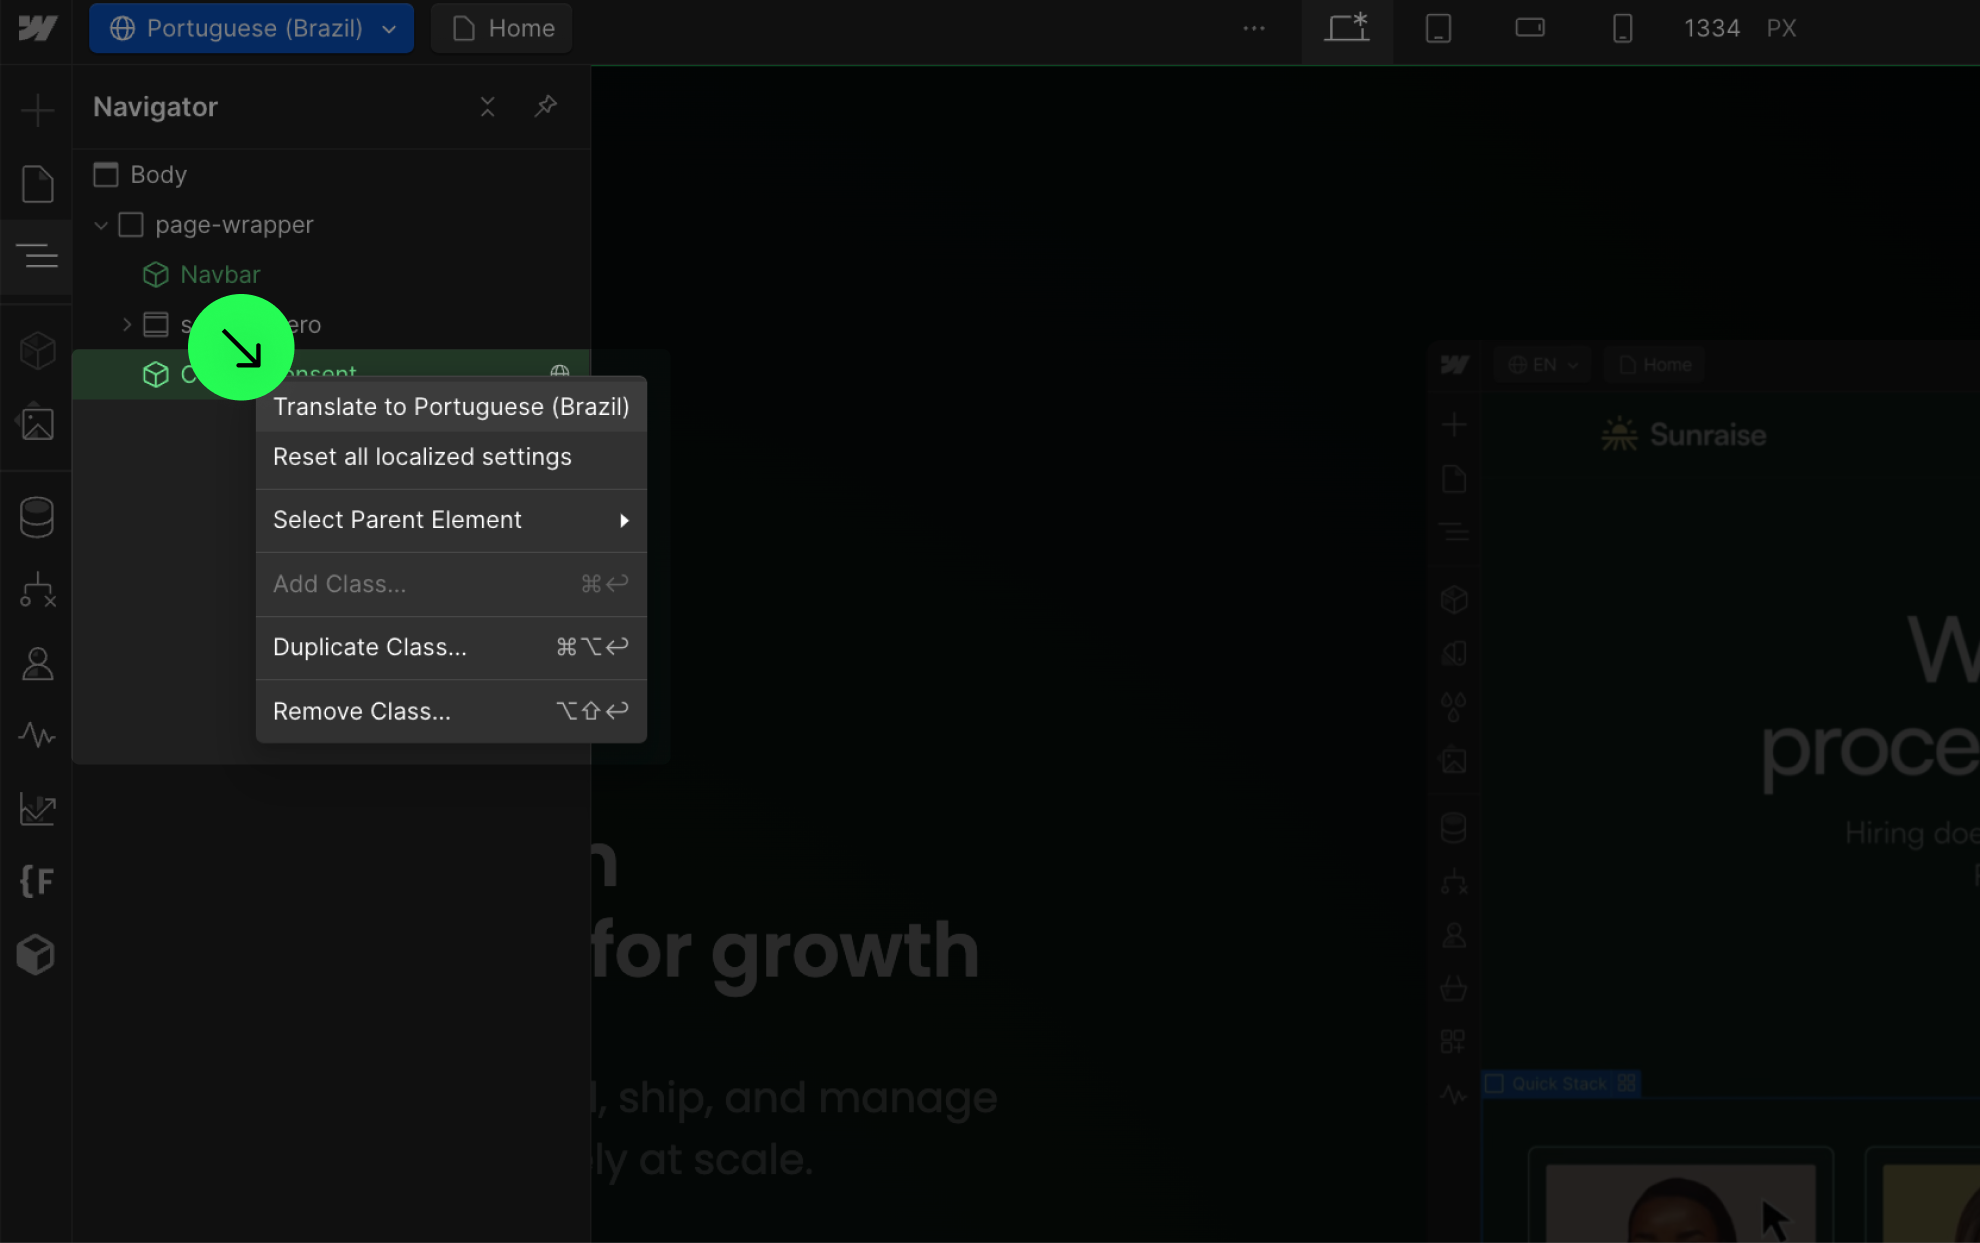
Find the Consent Pro Webflow Component in the Navigator, right-click on it, and select 'Translate to [language]'

5

Publish your project! Done!

Still need help?
Get Support